The Visual Vault: What It Is & How to Create One
What is the Visual Vault?
The Visual Vault is your centralized home for all brand visuals, ensuring a consistent and professional look across every piece of content you create.
It’s more than just a logo repository—think of it as your all-in-one brand style guide, where you can store and manage:
- Logos (best as PNG or SVG with transparent backgrounds)
- Brand Colors (with precise Hex codes)
- Fonts (choose from system libraries or upload your own)
By organizing these visual elements, the Visual Vault empowers you (and Visual Agents) to effortlessly apply your brand’s unique style to videos, documents, posts, and more—keeping your visual identity sharp and cohesive everywhere.
You can create multiple Visual Vaults for different brands, projects, or styles—and easily swap between them as needed.
How to Create a Visual Vault
Step 1: Go to the Dashboard
- Log in to your account.
- From your main dashboard, click on Vault.
Step 2: Add a New Vault
Click “Add a new vault”.
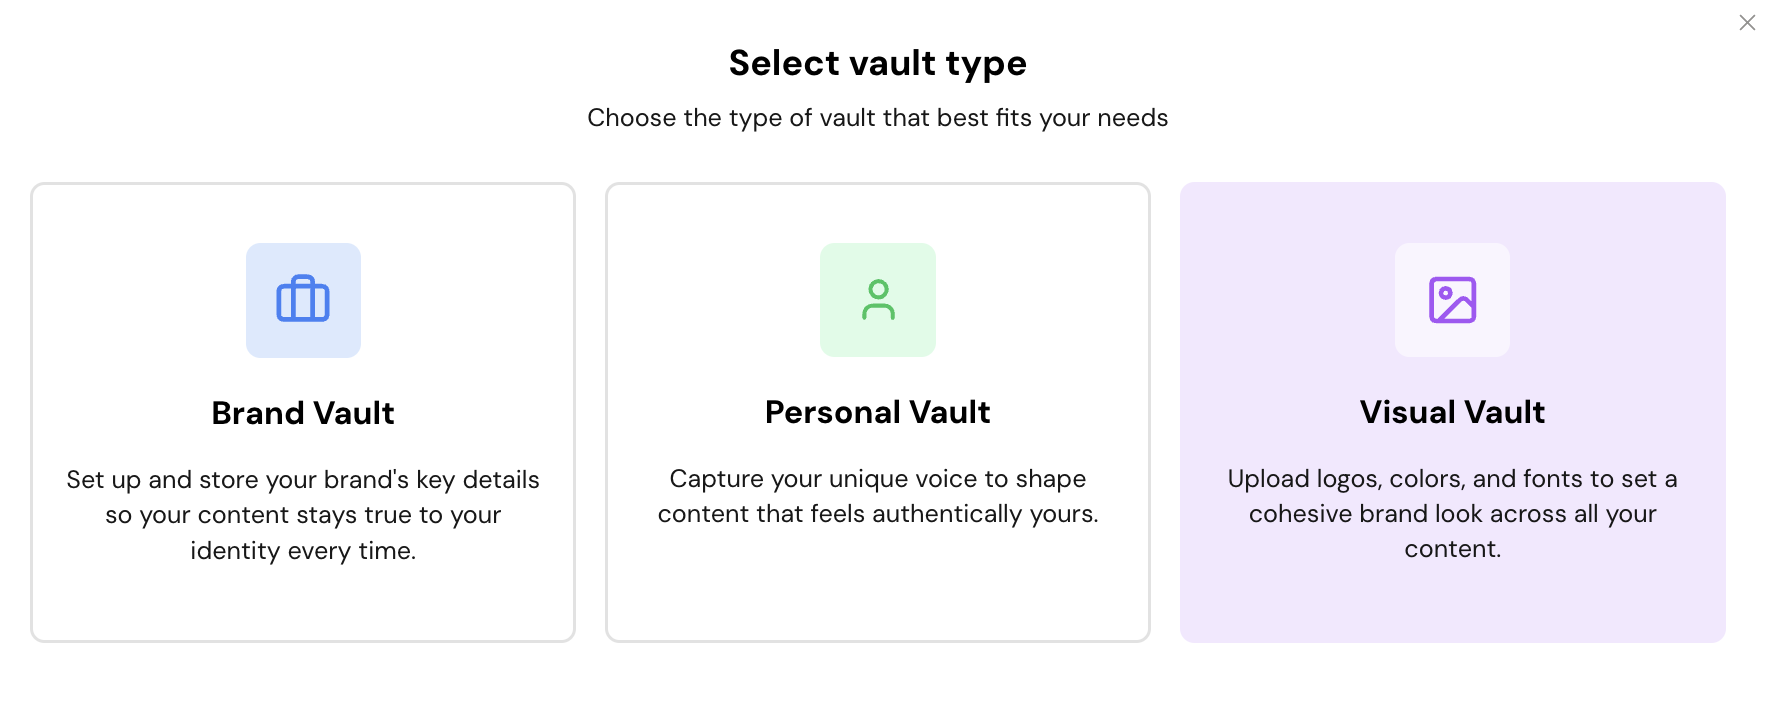
Step 3: Select “Visual Vault”
Choose “Visual Vault” to start building your brand’s visual style guide.
Step 4: Name Your Visual Vault
Enter a memorable name for your Vault (e.g., “Spring Campaign”, “Acme Co. Visuals”).
Step 5: Upload Your Logo
Click “Upload Logo” and select your file.
Accepted formats: PNG, JPG, JPEG, WEBP (for best results, use PNG or SVG with a transparent background).
Step 6: Set Your Brand Colors
Enter your Primary Color, Secondary Color, and Background Color using their Hex codes for exact color matching.
Step 7: Choose or Upload Fonts
Pick from the available fonts or click “Upload Font” to add your own custom fonts if you have specific brand typography.
Step 8: Save Your Visual Vault
Review all your entries.Click “Save” to finalize your Visual Vault.
Why Use a Visual Vault?
- Consistency: Automatically applies your logos, colors, and fonts to all content created within the platform.
- Flexibility: Create separate Visual Vaults for different brands, product lines, or projects.
- Efficiency: Visual Agents and the Visual Editor tap into your Visual Vault, so every campaign, video, post, or document always reflects your true brand style.
Pro Tip:
Make sure the correct Visual Vault (previously known as Brand Kit) is active in your project to ensure your brand’s visual tone is applied to everything you create.
Ready to bring your brand to life with bold, on-brand visuals?
Start building your Visual Vault now!
Related Articles
Create
From Vision to Vault: The Creation Section in gimmefy’s Marketing Playbook Overview The Creation Section is where your ideas, strategies, and creative sparks become real-world assets—ready to launch, captivate, and persuade across every major ...gimmefy Vault
Quick Overview The gimmefy Vault is your brand knowledge engine. It stores everything—mission, tone of voice, audience insights, career milestones, even design assets—so every piece of content is consistent, credible, and on-brand. Types of Vaults: ...Studio: Create Viral Content with AI-Powered Precision
The Ultimate Studio Guide for gimmefy Users: Visual Walkthrough & Plug-and-Play Prompts Welcome to Studio—your all-in-one creative engine for fast, on-brand content generation. Whether launching a campaign or refreshing social channels, Studio helps ...Cloning a Brand Vault
To quickly create a copy of an existing Brand Vault, use the Clone option. This allows you to replicate all information from the original vault into a new one, saving time and ensuring consistency. Simply open the Brand Vault you’d like to duplicate, ...How to Create a Brand Vault in gimmefy?
What is the Brand Vault? The Brand Vault is your brand’s headquarters on gimmefy—a structured space to lock in your unique story, audience, insights, and visual assets. With your Brand Vault, every campaign and piece of content will always be ...